There’s a lot of useful safety tricks that you learn working in commercial kitchens. Today we’re going to share a few of them with you so you can work faster and safer!


1.) Pinch Grip
Pinch grip is how we hold the knife for almost all chopping and cutting in the kitchen. You grasp the spine of the knife with your pointer finger and thumb and wrap the other three fingers around the handle. It will probably feel a little weird at first, but we promise that you’ll have more control over your knife once you get used to it.


2.) The CLAW
This is the particular way you hold onto what it is you’re cutting into. You keep your fingertips curled under your palm. You can use the back of your fingers between the first and second knuckle as a guide for not only where you’re cutting but also the angle of your cut. You’ll keep your thumb way in the back for support. Once your fingertips reach your thumb, simply move your thumb back and keep chopping!
[flying palm picture coming soon!]
3.) Flying Palm
Despite sounding like a poor name for a martial arts move, we use the flying palm technique to cut horizontally while minimizing our risk of cutting ourselves. You’ll use the flat of your palm to hold down on the thing you want to cut. You curl your fingers back like going for a high five, only stretch them as far back as you can. This keeps your fingertips out of the chopping line. You should try to use the claw technique if possible, but this technique covers those cases where you just can’t use your claw!
4.) Pan Flips
Yes these can be flashy, but they really are a time saving way to flip or even stir up the things in your frying pan. Follow our tutorial [Youtube Tutorial coming soon!], and with a little practice you’ll be doing these like a pro!
5.) Cut me Mick!
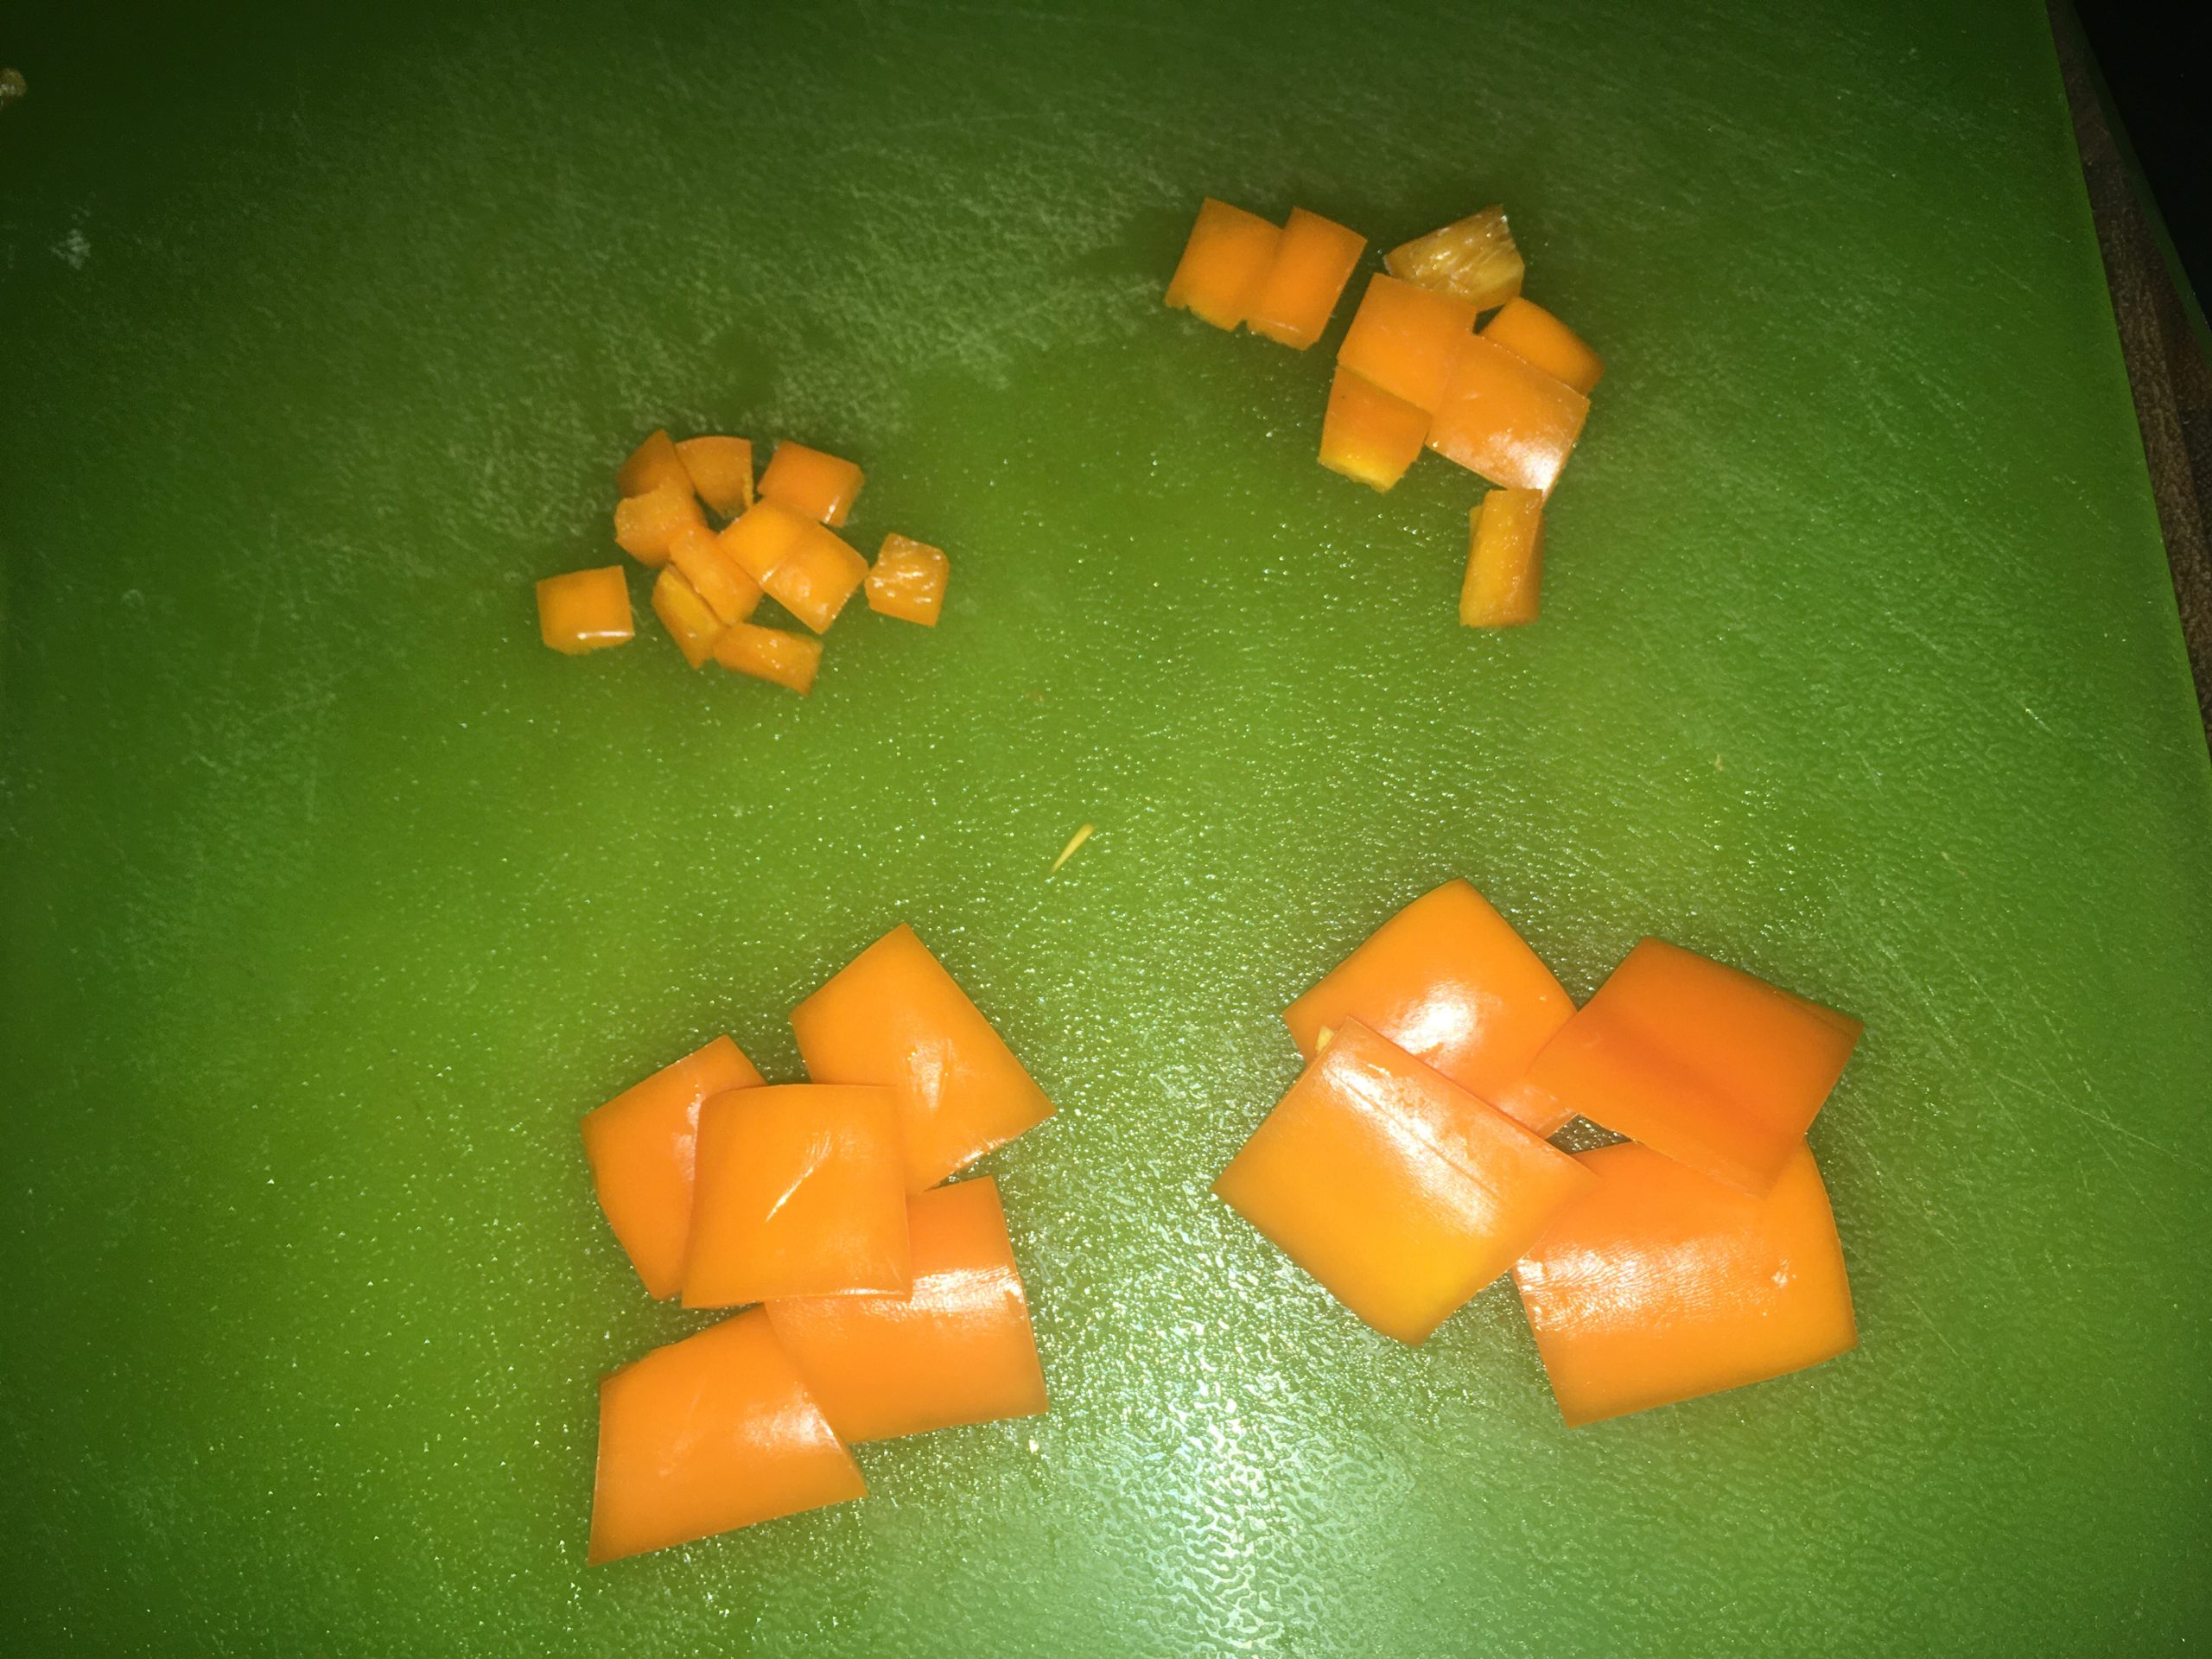
There’s all kinds of cuts to make, from fancy to practical. The important part is to try and make the pieces you cut as close to the same size as possible. You get a nicer finished dish when all the bits cook at the same pace. You’ll end up with neither some overdone nor some underdone pieces, they should all be cooked to the same level. I can’t help you if you overcook it all, though! Here’s some of the formal, classic French cuts.


¼” cuts (batonnet)

⅛” cuts (julianne)
There’s a trick to the ¼” and ⅛” cuts! About halfway down the spine of your knife it’s about ⅛” thick. Just eyeball one times (⅛”) or two times (¼”) the thickness of your knife at that point and cut away!

Now, for all of you who would rather just know the names for all the informal and much easier to make cuts, here they are!


“Rondelles” they’re literally just leaving it round and cutting it into circles. If you cut at a slight angle to make an ellipse, they’re called “bias” cuts. Bias cuts are fantastic for adding some surface area for grilling!

Roll cuts, or oblique cuts, are very similar to bias cuts. Only difference is rolling your produce 180° between each cut. It makes these interesting cone-ish shaped pieces.

Known as “paysanne” or “peasant” cuts, these just follow the natural contour of the vegetable. There’s no waste from squaring your produce that you have when doing the super formal cuts, and these also have a very made-at-home feel. If you cut them into larger pieces, known as a “rough” chop, they’re fantastic for flavoring a soup that will simmer for a few hours!
6.) Magnet Effect
When you’re not using your knife to make a cut, it should be laying on your cutting board. Just pretend there’s a magnetic connection between your knife and cutting board (one that wants to hold them together), so your knife should want to be against the board at all times, especially when you’re not using it to make cuts. If you can keep that in mind, you’ll find yourself setting your knife down when you need to look away or use your hands to talk or motion instead of waving it around in the air.
That covers some fundamental techniques and some terminology. Practice those good knife skills, and you’ll find that speed will come naturally. Once you’re well practiced, it’ll be just like riding a bike; you’ll find you automatically use the pinch grip when using or testing a new knife out. You’ll find that you can finish a cut if there’s a commotion without losing a fingertip. Finally, you’ll be less prone to accidents as you’ll only be moving your knife when cutting!
Stay healthy family!

Let us know what you and your kids think…